Contact
Write to Us And We Would Be Happy to Advise You.
Do you have any questions, or would you like to speak directly with a representative?
By peter
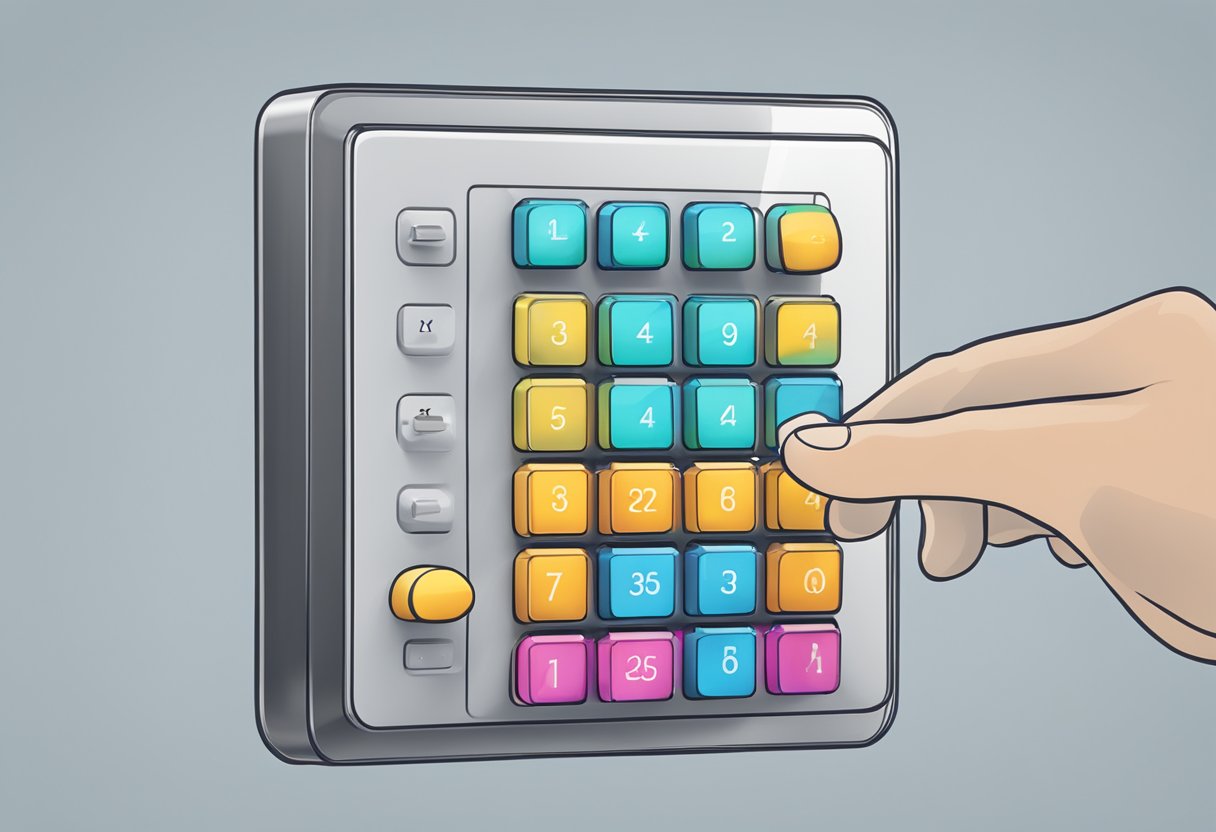
If you’re looking for a way to input numerical data into your electronics project, you may want to consider using a membrane 3×4 matrix keypad. This type of keypad is made up of 12 buttons arranged in a 3×4 grid, similar to a telephone keypad. It’s easy to use and can be connected to a microcontroller with just a few pins.
One of the benefits of using a membrane 3×4 matrix keypad is its simplicity. The buttons are arranged in a clear grid pattern, making it easy to enter numerical data quickly and accurately. Additionally, because it’s a membrane keypad, it’s thin and flexible, which means it can be attached to a variety of surfaces. This makes it a great option for projects where space is limited.
To use a membrane 3×4 matrix keypad, you’ll need to connect it to a microcontroller. This can be done with just a few pins, making it a convenient option for projects where you don’t have a lot of space or need to keep things simple. Once connected, you can program your microcontroller to read the input from the keypad and use it to control your project. Whether you’re building a calculator, a security system, or a game, a membrane 3×4 matrix keypad can be a useful tool for inputting numerical data.

A membrane keypad is a type of keyboard that uses a thin, flexible membrane with printed circuits to act as the contacts for the keys. The keypad consists of pushbutton contacts that are connected to the row and column lines. There is one pin for each column and one pin for each row. So the 3×4 keypad has 4 + 3 = 7 pins. This illustration of a basic 3×4 keypad arrangement demonstrates how the internal conductors connect the keys to the row and column lines.
| 1 | 2 | 3 | |
| 4 | 5 | 6 | |
| 7 | 8 | 9 | |
| * | 0 | # |
The keys are arranged in a telephone-line 3×4 grid. Each key is assigned to a certain row and column. For example, pressing the 1 key would make a link between Row 1 and Column 1 (R1C1). The 2 key would be R1C2, the 3 key would be R1C3, and so on.
The membrane keypad uses a matrix of conductive traces printed on a thin, flexible membrane. When a key is pressed, it makes contact with the conductive trace on the membrane, which completes the circuit. The keypad is connected to a microcontroller or other device through a set of pins. The microcontroller scans the rows and columns of the keypad to determine which key has been pressed.
The electrical interface of a membrane keypad is simple and easy to use. The keypad can be connected to a microcontroller or other device using a set of pins, and the software can be written to scan the rows and columns of the keypad and determine which key has been pressed. The membrane keypad is a reliable and cost-effective input device that is widely used in a variety of applications.
When integrating a membrane 3×4 matrix keypad into your project, there are a few mounting techniques to consider. One popular method is to mount the keypad onto a PCB board using screws or adhesive tape. This method allows for easy removal and replacement of the keypad, making maintenance and upgrades much simpler. Another option is to mount the keypad directly onto a surface using adhesive tape or glue. This method is ideal for projects with limited space, but it may be more difficult to remove and replace the keypad if necessary.
To connect the membrane 3×4 matrix keypad to a microcontroller, you will need to identify the row and column pins of the keypad. The keypad will have four rows and three columns, which correspond to the pins on the microcontroller. Once you have identified the pins, you can connect them to the microcontroller using jumper wires or a ribbon cable.
To use the keypad, you will need to write code that scans the rows and columns of the keypad to detect when a button is pressed. There are many libraries available for popular microcontrollers, such as the Arduino Keypad library, that make it easy to interface with the membrane 3×4 matrix keypad. Once you have written your code, you can upload it to the microcontroller and begin using the keypad in your project.
Overall, integrating and using a membrane 3×4 matrix keypad in your project is a simple process that can greatly enhance the user interface and functionality of your device. With a few mounting techniques and the right code, you can easily incorporate this keypad into your project.
When using a membrane 3×4 matrix keypad, debouncing is an important consideration. Debouncing is the process of removing unwanted noise from the keypad signal, which can occur when a button is pressed or released. Without debouncing, a single button press can be registered multiple times, leading to errors in the output. There are several debouncing algorithms that can be used to remove unwanted noise from the keypad signal, including software debouncing and hardware debouncing.
Software debouncing involves adding a delay in the code to allow for the signal to stabilize before reading the input. This can be done using a simple delay function or a more complex algorithm that takes into account the previous state of the signal. Hardware debouncing involves adding a capacitor or resistor to the circuit to filter out unwanted noise.
Once the keypad signal has been debounced, the next step is to map the output to specific keys. This involves assigning a unique value to each button on the keypad, which can then be used to trigger specific actions in the code. One way to do this is to create a two-dimensional array that maps the row and column values to a specific key.
For example, if you are using a 3×4 keypad, you would create an array with three rows and four columns. Each element in the array would correspond to a specific button on the keypad, with the value representing the key that is pressed. This mapping can then be used in the code to trigger specific actions based on the input from the keypad.
In summary, programming and configuring a membrane 3×4 matrix keypad involves debouncing the signal to remove unwanted noise and mapping the output to specific keys. By using software or hardware debouncing and creating a key mapping array, you can ensure that your keypad input is accurate and reliable.
If you experience issues with your membrane 3×4 matrix keypad, don’t worry, most problems are easy to fix. Here are some common issues and their solutions:
To keep your membrane 3×4 matrix keypad in good condition, it’s important to clean it regularly. Here are some cleaning procedures to follow:
By following these simple troubleshooting and maintenance tips, you can ensure that your membrane 3×4 matrix keypad remains in good working condition for years to come.
Do you have any questions, or would you like to speak directly with a representative?