Contact
Write to Us And We Would Be Happy to Advise You.
Do you have any questions, or would you like to speak directly with a representative?
By peter
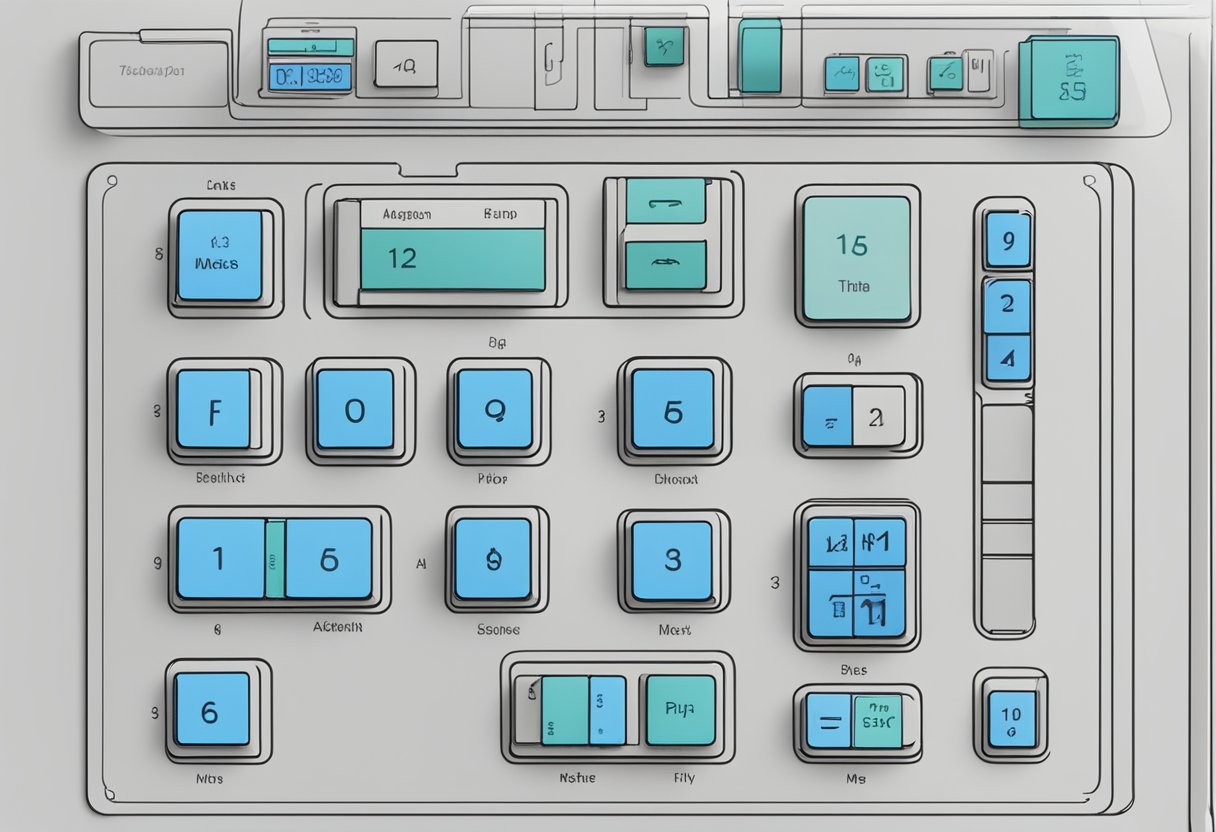
The Adafruit Membrane Keypad is an electronic component designed to act as an input device for a variety of electronic projects. It is a thin, flexible membrane material with an adhesive backing that can be attached to almost anything. The keypad has 12 buttons arranged in a 3×4 grid, making it ideal for numerical input.

This keypad is perfect for projects that require a simple and reliable input method. The keys are connected into a matrix, which means that you only need a few microcontroller pins to scan through the pad. Additionally, the membrane is soft and has a removable paper backing to expose the adhesive layer, making it easy to attach to your project.
If you’re looking for a keypad that is easy to use and integrate into your project, the Adafruit Membrane Keypad is an excellent choice. Its simple design and ease of use make it a popular choice among hobbyists and professionals alike. Whether you’re building a calculator, a security system, or any other project that requires numerical input, the Adafruit Membrane Keypad is a versatile and reliable solution.
Membrane keypads are a type of user interface that uses a thin, flexible membrane with printed conductive traces to register user input. These keypads are used in a wide range of electronic devices, from calculators and remote controls to industrial equipment and medical devices. In this section, we will discuss the working principle and applications of Adafruit membrane keypads.
Membrane keypads work by using a matrix of conductive traces printed on a thin, flexible membrane. When a user presses a button on the keypad, it pushes down on the membrane, causing the conductive traces to come into contact with each other. This creates a circuit that registers the button press and sends a signal to the device’s microcontroller.
The conductive traces on the membrane are usually made of silver or carbon, which is printed onto a polyester film. The film is then covered with a layer of adhesive and a protective overlay that provides durability and resistance to wear and tear.
Adafruit membrane keypads are used in a wide range of electronic devices, including:
These keypads are popular because they are low-cost, easy to use, and can be customized to fit a wide range of applications. They are also highly reliable, with a long lifespan and resistance to environmental factors such as dust, moisture, and temperature changes.
In summary, Adafruit membrane keypads are a versatile and reliable user interface that can be used in a wide range of electronic devices. They are easy to use, customizable, and highly durable, making them an excellent choice for a wide range of applications.
If you’re looking for a reliable and easy-to-use keypad for your electronic project, the Adafruit Membrane Keypad is a great option. This keypad has several features that make it a popular choice among hobbyists and professionals alike.
The Adafruit Membrane Keypad is a 1×4 keypad that has four buttons. It is designed to be used with microcontrollers such as Arduino, Raspberry Pi, and others. The keypad is made of a soft membrane material that is durable and long-lasting. It has a removable protective layer that keeps it safe during shipping and handling.
The keypad is easy to use and requires no matrix code. Each key has its own wire line, which means that you can treat them like everyday switches. The keypad has a low profile and is easy to install. It is also lightweight, which makes it ideal for portable projects.
The Adafruit Membrane Keypad has a simple layout that makes it easy to use. It has four buttons that are arranged in a 1×4 configuration. The buttons are labeled with numbers 1-4, which makes it easy to identify which button you are pressing.
The keypad has a sleek design that is perfect for modern projects. It has a black background with white lettering, which makes it easy to read in low-light conditions. The keypad is also customizable, which means that you can change the color of the background and lettering to match your project.
In summary, the Adafruit Membrane Keypad is a reliable and easy-to-use keypad that is perfect for electronic projects. Its technical specifications and layout make it a popular choice among hobbyists and professionals. With its low profile and lightweight design, it is ideal for portable projects.
The Adafruit membrane keypad is designed to be easily integrated with microcontrollers such as the Arduino. In this section, you will learn about the compatibility of the Adafruit membrane keypad with the Arduino and how to connect the keypad to a circuit.
The Adafruit membrane keypad is compatible with the Arduino microcontroller board. Adafruit provides a keypad library that can be used with the Arduino to interface with the membrane keypad. The library supports both 3×4 and 4×4 keypads, and it can be easily installed using the Arduino IDE library manager.
Once the library is installed, you can use the Adafruit_MCP23008 or Adafruit_MCP23017 library to control the keypad. The library provides a simple interface to read the state of the keys on the keypad. You can use the readKeys() function to read the state of the keys on the keypad and the getKey() function to get the ASCII code of the pressed key.
Connecting the Adafruit membrane keypad to a circuit is straightforward. The keypad has eight pins, four for the columns and four for the rows. You can connect the pins to the corresponding pins on the microcontroller using jumper wires.
The following table shows the pinout of the Adafruit membrane keypad:
| Pin | Function |
|---|---|
| 1 | Row 1 |
| 2 | Row 2 |
| 3 | Row 3 |
| 4 | Row 4 |
| 5 | Column 1 |
| 6 | Column 2 |
| 7 | Column 3 |
| 8 | Column 4 |
To connect the keypad to the microcontroller, you need to connect the rows and columns to the input/output pins on the microcontroller. You can use the digitalRead() function to read the state of the rows and the digitalWrite() function to set the state of the columns.
In conclusion, the Adafruit membrane keypad is a versatile input device that can be easily integrated with microcontrollers such as the Arduino. With its simple interface and easy-to-use library, the Adafruit membrane keypad is an excellent choice for projects that require user input.
To use the Adafruit Membrane Keypad with an Arduino board, you will need to download and install the Adafruit Keypad library. This library makes it easy to interface with the keypad and detect button presses. To install the library, follow these steps:
Once you have installed the Adafruit Keypad library, you can use the example code provided to test the keypad. To access the example code, navigate to File > Examples > Adafruit Keypad > keypad_test in the Arduino IDE. This will open an example sketch that demonstrates how to read button presses from the keypad.
The example code initializes the keypad by defining the number of rows and columns, as well as the pins used to connect the keypad to the Arduino board. It then enters a loop where it checks for button presses using the keypad.getKey() function. If a button is pressed, the code prints the button’s value to the serial monitor.
You can modify the example code to suit your needs. For example, you can change the behavior of the code when a button is pressed, or add additional functionality to the sketch. The Adafruit Keypad library provides a number of functions that make it easy to work with the keypad, so you can create custom code that meets your specific requirements.
If you are experiencing issues with your Adafruit membrane keypad, there are a few common issues that you may encounter. One issue is that the keypad may not be responding to button presses. This could be due to a loose connection, a damaged keypad, or an issue with the code you are using to interface with the keypad.
To troubleshoot this issue, first check all connections to ensure they are secure. If the connections are secure and the issue persists, try replacing the keypad with a new one. If the issue still persists, check your code to ensure it is correctly interfacing with the keypad.
Another issue you may encounter is that the keypad is registering multiple button presses when you only press one button. This could be due to a short circuit or a damaged keypad. To troubleshoot this issue, check the keypad for any visible damage or signs of a short circuit. If there is no visible damage, try replacing the keypad with a new one.
If you are still experiencing issues with your Adafruit membrane keypad, there are several resources available to help you troubleshoot and find a solution. The Adafruit forums are a great place to ask for help and get advice from other users who may have experienced similar issues.
In addition to the forums, Adafruit provides a variety of resources to help you get started with your membrane keypad. Their website includes tutorials, guides, and code examples to help you get started and troubleshoot any issues you may encounter.
If you are still unable to resolve your issue, Adafruit offers customer support to help you find a solution. Contact their support team for assistance with your Adafruit membrane keypad.
Do you have any questions, or would you like to speak directly with a representative?