Contact
Write to Us And We Would Be Happy to Advise You.
Do you have any questions, or would you like to speak directly with a representative?
By hqt
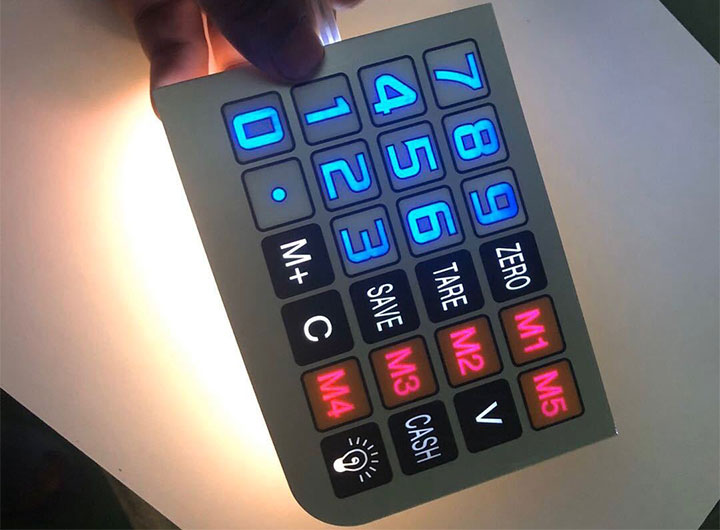
Matrix membrane keypad 4×4 for Arduino Universal Keyboard is good to use to control various devices. We can use it to dial codes in combination locks, for programming.
To use the membrane keyboard, you need to connect it to the device you want to control. Moreover, this creates a control program if necessary, and connects the power. The principle of operation – when you press any key, a certain pair of wires closes to each other. The membrane keyboard has one interface for connecting to a device that needs to be controlled by an 8-pin socket interface.
The membrane keyboard gets power from the device to control or from an external source (battery power supply). Supply voltage up to 35 V, switching current up to 100 mA.
A button is the simplest device for transmitting information from a person to a controller. With its help, we can meaningfully set zero or one on a specific pin, thereby telling the program a command for a particular action.
Sometimes only one button is enough for a project, more often two or three, but there are times when you need a lot of buttons. For example, you need matrix membrane keypad to enter a password from numbers or letters, or a combination of both.
We create a device that requires a lot of:
For such tasks, even a dozen buttons are not enough. Each requires a separate pin, which there are not so many on Arduino. When we realize that it’s too wasteful to allocate a whole pin for one single button.
Other ways to organize an array of these same buttons come to our aid. In this article, we will consider one of them, a simple one, reliable and therefore the most popular. It is called “matrixing”, and the matrix membrane keypad assembled for it are called “matrix”.
Everything arranges simply, several buttons connect in a rectangular matrix, located in the nodes of rows and columns of conductors.
Each button, when pressed, closes contacts between a specific column and a specific row. Moreover, it creates a circuit that can be programmatically detected. For example, if we press the top left button in the diagram above, we will bridge pins A and 1.
And as you can easily see, each button has its own pair of pins. At the same time, there are only 8 contacts, and as many as 16 buttons! A good savings of 8 pins is already noticeable. It is easy to calculate that by adding rows and/or columns, we will further increase the relationship between buttons and pins. So, a 5×5 matrix will save us 15 controller legs.
We cannot give the same signal to the rows and read them on the columns. In this case we could only determine the vertical in which the button presses. But if we give a signal, for example, only to row A, then all the buttons of the top row will track on pins 1, 2, 3 and 4.
The buttons in the remaining rows at that moment will not have any effect on the result, neither pressed nor pressed. If we apply to row B, then we will track all the buttons of only the second row from the top, and so on.
Thus, in order to get the big picture, we will have to go through all the matrix membrane keypad rows and all the columns. And no matter in what order, this is a matter of taste, the main thing is to do it as quickly as possible, until the finger is removed from the button, and not a single don’t miss.
There are quite a lot of matrix keyboards, of different sizes, number of buttons, shape and technical design. A good example is mechanical, they are reliable, durable, pleasing to the eye and hand, and, importantly, maintainable.

But the most widespread in the DIY industry are membrane keyboards, they captivate with their low price, unpretentiousness, bright appearance and great variety.
Due to their small thickness, matrix membrane keypad is easily and quickly placed on flat surfaces, just stick them on double-sided tape. Partially sealed design protects against liquid splashes, and the surface easily washes from external contaminants. The resource is relatively small, but it is compensated by a quick replacement without hitting the budget.
We will assemble the circuit on one of this matrix membrane keypad, but it will not hurt to use any one in its place, with a different number of buttons, but with the same matrix principle of operation.
Let’s take a hotly and deservedly loved 4×4 keyboard by DIY masters, very similar to those used on push-button phones: 10 number buttons, four letter buttons, an asterisk and a hash. This set is more than enough for most real projects.
The diagram needs some explanation. Pins 11, 10, 9 and 8 are connected to the rows, 7, 6, 5 and 4 connect to the columns. Of course, this is for an example, you can use any others and the same ones in a different order, the main thing are to correctly specify them in the program.
We will alternately give signals to the rows, read the presence of contacts with these rows on the columns. In our example, when the buttons depress, there will be a “plus” on the pins of the columns, so we attract them to +5 V with 1 KΩ resistors.
The “walking” signal on the rows will thus be “ground”, it is also “zero”. A careful eye will notice that the output pins are connected to the keyboard through diodes. They need in order to protect our Arduino from damage in case an ill-instructed user presses several buttons in a column at the same time.
Summary
Looking again at the schematic diagram of the matrix membrane keypad, it will become obvious. In this case two or more signal pins will be short-circuited, which will certainly receive a multidirectional state during this time. At best, the Arduino will reboot, at worst, it will lose one of the ports. Inexpensive diodes will surely eliminate the possibility of a short circuit.
Do you have any questions, or would you like to speak directly with a representative?