Contact
Write to Us And We Would Be Happy to Advise You.
Do you have any questions, or would you like to speak directly with a representative?
By hqt
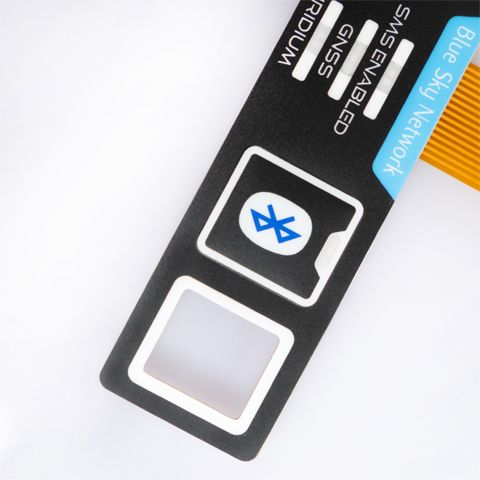
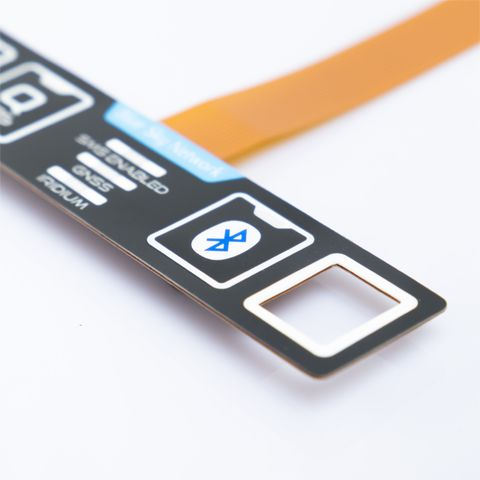
Now we will give you some very easy tricks to clean your membrane Arduino membrane keypad even if it is dirty, making it as easy as possible to clean it and preventing dust or dirt from damaging our precious membrane keypad.
Although it is known by all, we will emphasize that to clean your membrane keypad we will do it with the membrane keypad disconnected to avoid possible problems of short circuits or circuit breakdowns that spoil the membrane keypad.
We will perform this cleaning once a month or at the latest every 2 months to avoid too much accumulation of dirt.
The materials that we will use in this cleaning are easy to find since most of us have them at home. These materials are:
Membrane keypad disassembly kit (normally included in all Arduino membrane keypad packs common to remove the membrane keypad keys) or, failing that, a flat and fine-tipped screwdriver.
All the materials mentioned above will be common with the membrane keypad disconnected and in a well-lit place to be able to observe well if there are traces of dirt, dust, or stains on our precious membrane keypad. Next, I will
It is good to get common to this cleaning once a week so as not to accumulate large amounts of dirt. For this cleaning. And the failing that, a small air gun, some swabs that we usually use to remove wax from the ears.
Also, hot water or distilled water to avoid any electronic problem. And if we have a small handheld vacuum cleaner, this will allow us to facilitate and speed up the cleaning of our membrane keypad.
Without disassembling the Arduino membrane keypad, we will pass the stick through each of the keys removing the dust, once we verify that we have removed all the dust we will proceed to the next step.
or, failing that, the warm water and moisten a little kitchen paper. And repeat the same process that we did with the cotton buds, this will allow us to remove the largest dirt that sticks to the keys.
We will take a new swab again and moisten it in the water previously prepared in the container, the swabs will allow us to access the corners that we previously missed with the paper.
We are almost done, we will proceed to the final steps. This time we will need dry kitchen paper. And we will pass it again where we pass the swabs to dry all the possible water that has remains on the Arduino membrane keypad.
This step is optional and we will only do it if we have a small handheld vacuum cleaner, or, failing that, a small air pressure gun, since once the previous step is completed we will go over the vacuum cleaner to remove all of them.
This cleaning is finis when something accidentally spills on the membrane keypad and we need to remove that dirt immediately to avoid possible breakdowns.
If you follow all the steps correctly, you should not have problems with the warranty since today. And all membrane keypads usually come with a spare parts kit. So that within the purchase itself they give us the option to disassemble our membrane keypad.
Conclusion
At membrane keypad. top we do not support fraud. And membrane keypad modifications, because if they go wrong, the warranty will not be denied. Furthermore, we do encourage you to have the membrane keypad clean.
And following the steps shown above, you will not have any problem in that the warranty covers your Arduino membrane keypad in case of external failures when changing parts or cleaning it.
Do you have any questions, or would you like to speak directly with a representative?