How to Repair A Broken Membrane Switch or Panel?
Discover Effective Methods to Fix a Damaged Membrane Switch or Panel
Introduction
Welcome to this comprehensive guide on how to repair a broken membrane switch or panel. Membrane switches and panels are vital components in various electronic devices, serving as user interfaces for input and control. Over time, these switches may encounter issues such as unresponsiveness, damage, or malfunction. But fear not! In this article, we will explore practical steps and techniques to help you troubleshoot and repair a broken membrane switch or panel, saving you time and money on replacements. Let’s delve into the world of membrane switch repair!

-
1.Understanding Membrane Switches and Panels
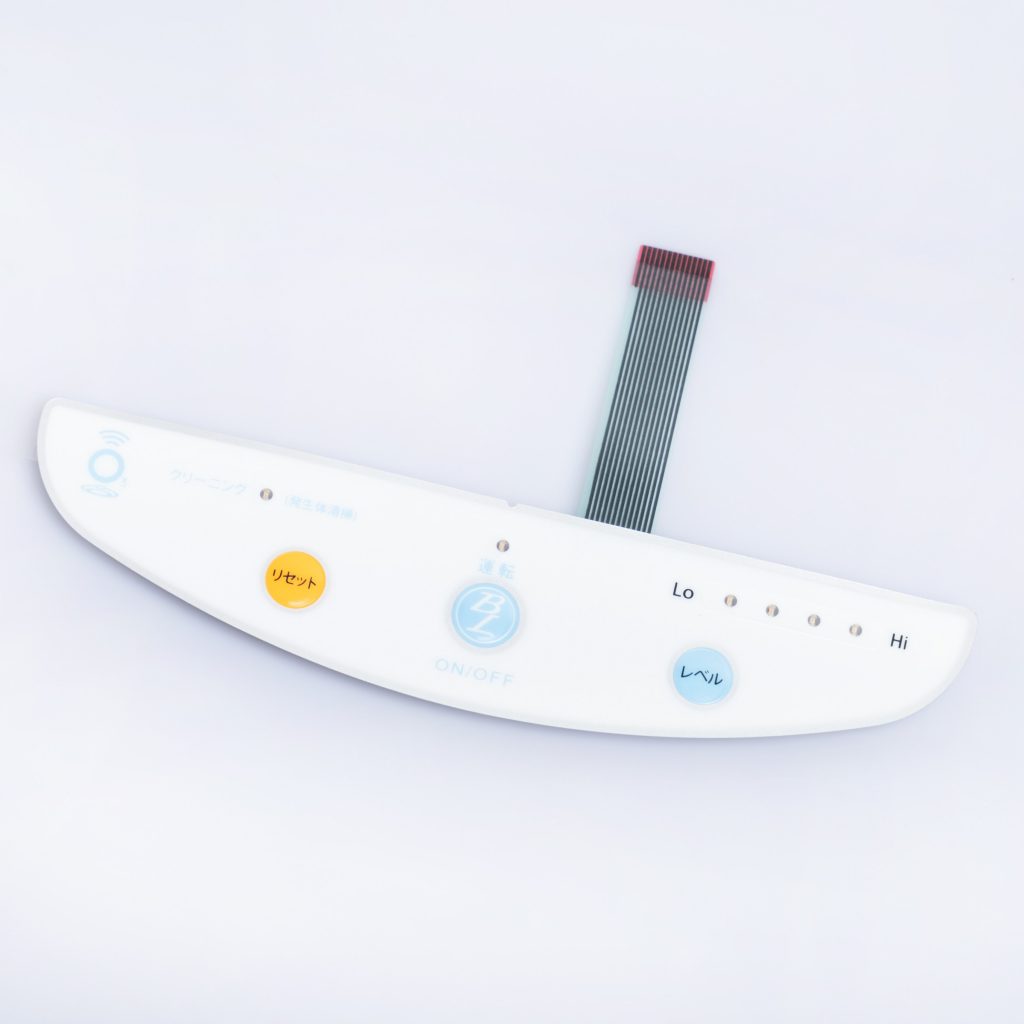
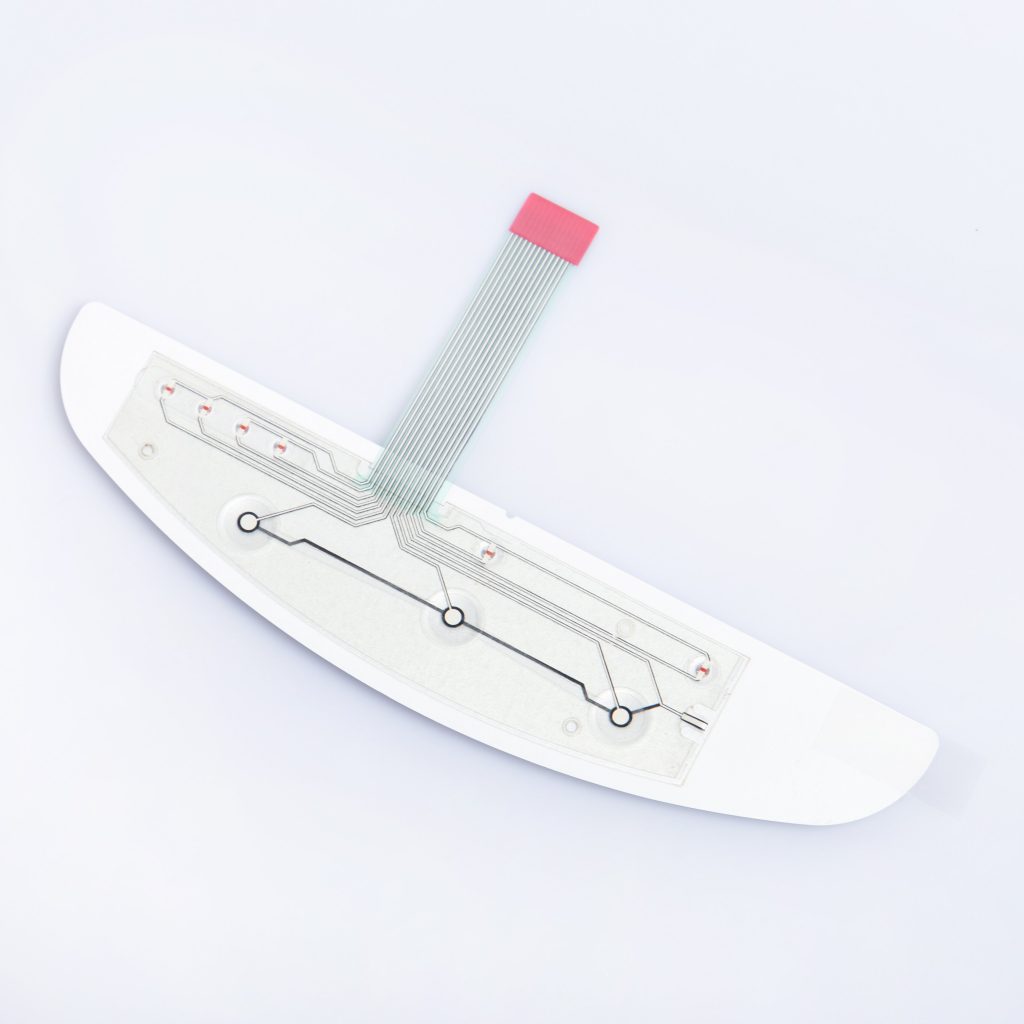
Membrane switches and panels are thin, flexible, and durable components used in electronic devices, such as calculators, microwave ovens, medical equipment, and industrial control panels. They consist of several layers, including a top graphic overlay, spacer layer, conductive traces, and a bottom adhesive layer. When a user applies pressure to the surface of a membrane switch, the conductive traces make contact, completing the circuit and generating the desired input. Understanding the structure and function of a membrane switch is crucial when it comes to repairing them.
-
2.Common Issues with Membrane Switches and Panels
Before diving into the repair process, let’s explore some common issues you may encounter with membrane switches or panels. Recognizing these problems will help you diagnose the cause and choose the appropriate repair technique:
- Unresponsiveness: The membrane switch does not register any input when pressed.
- Physical damage: The switch or panel has been physically damaged, leading to visible cracks, tears, or punctures.
- Malfunctioning buttons: Certain buttons or areas of the membrane switch do not respond or produce erratic input.
- LED failure: The integrated LEDs responsible for backlighting or indicator lights do not illuminate.
- Worn-out overlay: The top graphic overlay has faded, scratched, or lost its tactile feedback.
- Moisture or liquid damage: Water or other liquids have seeped into the membrane switch, causing malfunction or corrosion.
-
3.Tools and Materials Needed
To successfully repair a broken membrane switch or panel, gather the following tools and materials:
- Isopropyl alcohol or electrical contact cleaner
- Clean lint-free cloth or cotton swabs
- Fine-tipped soldering iron
- Soldering wire (preferably with flux core)
- Desoldering pump or desoldering braid
- Heat shrink tubing
- Replacement LEDs (if required)
- Multimeter (for testing continuity and resistance)
- ESD (Electrostatic Discharge) mat and wrist strap (recommended)
- Heat gun or hairdryer (for heat shrink tubing)
-
4.Safety Precautions
Before attempting any repair work, it’s essential to prioritize safety. Follow these precautions to minimize the risk of damage or injury:
- Power off the device: Ensure the electronic device connected to the membrane switch is powered off and disconnected from any electrical sources.
- Ground yourself: Use an ESD mat and wrist strap to discharge any static electricity, preventing damage to sensitive components.
- Work in a well-ventilated area: Avoid working in confined spaces or areas with poor ventilation to prevent the inhalation of fumes produced during soldering.
- Handle soldering iron with care: The soldering iron reaches high temperatures, so handle it with caution and keep it away from flammable materials or surfaces.
- Follow equipment instructions: Familiarize yourself with the operation and safety guidelines provided by the manufacturer for each tool or material used.
-
5.Step-by-Step Guide: How to Repair a Broken Membrane Switch or Panel
1.Identify the Issue
The first step in repairing a broken membrane switch or panel is to identify the specific issue. Carefully examine the switch for physical damage, unresponsive buttons, or faulty LEDs. Take note of any visible signs of wear, such as cracks, tears, or discoloration. Understanding the problem will guide you toward the appropriate repair method.
2.Clean the Membrane Switch
Often, unresponsiveness in a membrane switch can be attributed to dirt, debris, or oxidation on the conductive surfaces. Cleaning the switch is a simple yet effective troubleshooting technique. Follow these steps:
- Power off and disconnect the device.
- Gently remove the membrane switch from the device, if possible, without damaging the traces.
- Apply a small amount of isopropyl alcohol or electrical contact cleaner to a lint-free cloth or cotton swab.
- Wipe the conductive traces and contact surfaces, removing any contaminants or oxidation.
- Allow the switch to air dry completely before reassembling and testing.
Cleaning the switch may resolve unresponsiveness caused by surface-level dirt or corrosion.
3.Repair Damaged Traces
In cases where the conductive traces on the membrane switch are damaged or severed, repair is necessary to restore functionality. To repair damaged traces, follow these steps:
- Identify the damaged trace by carefully inspecting the switch under good lighting.
- Using a fine-tipped soldering iron, gently scrape off the protective coating from the trace ends.
- Clean the exposed trace ends with isopropyl alcohol or electrical contact cleaner.
- Cut a small piece of soldering wire, slightly longer than the damaged trace.
- Carefully solder the wire to bridge the gap between the two trace ends, ensuring a secure and conductive connection.
- Trim any excess wire, ensuring it does not touch neighboring traces.
- Inspect the repair and ensure there are no short circuits or loose connections.
Repairing damaged traces requires a steady hand and basic soldering skills. Take your time and avoid applying excessive heat, which could further damage the switch.
4.Fix Unresponsive Buttons
If specific buttons or areas of the membrane switch are unresponsive, the issue may lie in the contact between the conductive pads and the traces. Follow these steps to fix unresponsive buttons:
- Power off and disconnect the device.
- Remove the membrane switch from the device, if possible.
- Inspect the unresponsive button area for signs of wear or damage.
- If the button uses a domed or tactile membrane, check if it is misaligned or flattened.
- Gently lift the unresponsive button using a small flathead screwdriver or tweezers.
- Clean the conductive pad and the corresponding trace with isopropyl alcohol or electrical contact cleaner.
- If the conductive pad is misaligned or flattened, carefully reshape it to ensure proper contact.
- Reassemble the switch and test the repaired button for responsiveness.
Fixing unresponsive buttons may require careful adjustment and cleaning to restore proper contact between the conductive pad and the trace.
5.Replace Faulty LEDs
If the integrated LEDs responsible for backlighting or indicator lights have failed, replacement is necessary. Follow these steps to replace faulty LEDs:
- Power off and disconnect the device.
- Remove the membrane switch from the device, if possible.
- Identify the faulty LED by observing the non-illuminated area or using a multimeter to test for continuity.
- Carefully desolder the faulty LED using a desoldering pump or desoldering braid.
- Clean the area around the LED using isopropyl alcohol or electrical contact cleaner.
- Align the replacement LED with the correct polarity (observe the “+” and “-” markings).
- Solder the replacement LED onto the designated pads, ensuring a secure connection.
- Trim any excess leads and insulate the solder joints using heat shrink tubing.
- Reassemble the switch and test the replaced LED for proper illumination.
Replacing faulty LEDs requires basic soldering skills and attention to polarity. Double-check the connections to ensure the new LED functions correctly.
6.Test the Repaired Membrane Switch
After completing the necessary repairs, it’s crucial to test the membrane switch’s functionality before reassembling the device. Follow these steps to test the repaired switch:
- Reconnect the device to its power source.
- Gently press each button on the membrane switch, ensuring they register input correctly.
- Observe the backlighting or indicator LEDs to verify they illuminate as intended.
- Check for any abnormalities or malfunctions during normal device operation.
- If the switch functions correctly, reassemble the device and secure the membrane switch in place.
Testing the repaired membrane switch guarantees that all repairs were successful and restores full functionality to the electronic device.
-
6.FAQs about Repairing Membrane Switches and Panels
1. Can I repair a membrane switch without any technical knowledge?
Repairing a membrane switch typically requires basic technical knowledge and soldering skills. While some cleaning or minor adjustments can be performed without expertise, more complex repairs may require assistance from a professional.
2. What should I do if the membrane switch continues to malfunction after repair?
If the membrane switch continues to malfunction after repair, double-check your repair work for any missed connections, damaged traces, or incorrect soldering. It’s also possible that the issue lies elsewhere in the device’s circuitry, requiring further troubleshooting or professional assistance.
3.Is it possible to replace individual buttons on a membrane switch?
In most cases, individual buttons on a membrane switch cannot be replaced independently. The switch is often manufactured as a single unit, and replacing a single button would require replacing the entire switch. However, some specialized membrane switches may allow for individual button replacement. Consult the manufacturer or documentation for more information.
4. Can I use a multimeter to test the functionality of a membrane switch?
Yes, a multimeter can be used to test the continuity and resistance of a membrane switch. By probing the conductive traces and pads, you can determine if the switch is functioning correctly. Ensure the device is powered off and disconnected before conducting any tests.
5. What alternative options are available if the membrane switch is beyond repair?
If the membrane switch is beyond repair or if replacement parts are unavailable, you may need to consider replacing the entire switch or exploring alternative control methods, such as touchscreen interfaces or external input devices. Consult the device’s manufacturer or a professional technician for guidance.
6. How long does it typically take to repair a membrane switch?
The time required to repair a membrane switch depends on the complexity of the issue and your familiarity with the repair process. Simple cleaning or adjustment tasks may take minutes, while more intricate repairs involving trace repair or LED replacement can take several hours. Patience and attention to detail are crucial for successful repairs.
7.Conclusion
Repairing a broken membrane switch or panel is an achievable task with the right knowledge and tools. By following the steps outlined in this guide, you can troubleshoot common issues and perform effective repairs. Remember to exercise caution, prioritize safety, and seek professional assistance if needed. With your newly acquired repair skills, you can save money and extend the lifespan of your electronic devices.